Rebus & Cuneiform

Rebus

A rebus is an allusion device that uses pictures to represent words or parts of words. It was a favorite form of heraldic expression used in the Middle Ages to denote surnames.

Procedure

Only utilize visuals to illustrate a chosen phrase like in the style of the Cuneiform.

You can complete this task by creating simple vector pictograms by using illustrator or cut out shapes from printed materials such as from magazines or you may draw by hand with markers.

You are encouraged to be creative with the design. If you choose materials from magazines you need to glue cut-outs to the poster-board.

Specifications

Size: 8.5” by 11”

My Rebus

Rebus


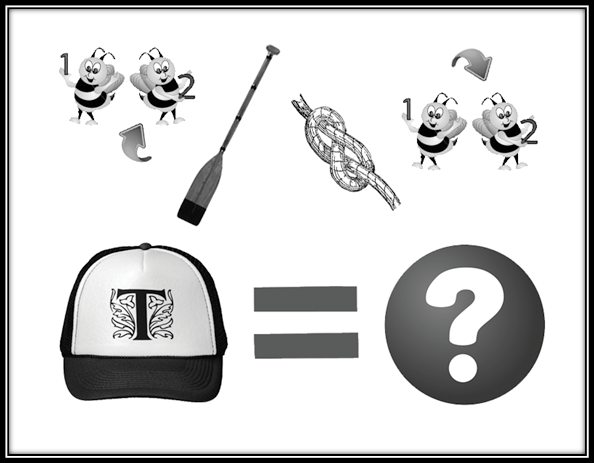
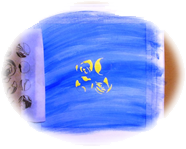
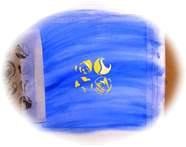
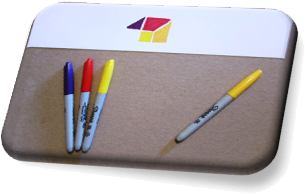
I started by indicating that my bees were labeled one and two then added a paddle, a knotted rope and another pair of bees. I finished my rebus with a hat decorated with the letter ‘T’, an equal sign and a question mark. In each case, the second bee is singled out by an arrow.

To be or not to be? That is the question. ~ Hamlet (William Shakespeare)

Cuneiform Cylinder seal

Cuneiform script is one of the earliest known systems of writing, distinguished by its wedge-shaped marks on clay tablets, made by means of a blunt reed for a stylus. A cylinder seal is a small round cylinder; typically about one inch in length, engraved with written characters or figurative scenes or both, used in ancient times to roll an impression onto a two-dimensional surface, generally wet clay.

Carve a Cuneiform Cylinder Seal

One of the most iconic artifacts from ancient Mesopotamia is the cylinder seal. These were usually carved out of clay or precious stone and featured a unique pattern to verify someone’s identity and “seal” important documents. Travel to ancient Mesopotamia by carving your own unique cuneiform cylinder seal.

My Cuneiform Cylinder Seal

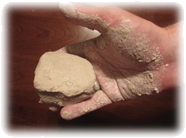
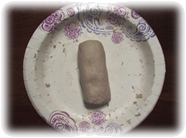
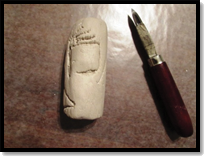
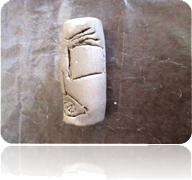
I created my seal from some old clay. So old, in fact, that I needed to moisten it quite a bit to mold it into something usable. Once kneaded into a wet, pliable material, I shaped the clay into a cylindrical form and let it start to dry and set.

Old Clay Moistened & Kneaded Cylindrical Form

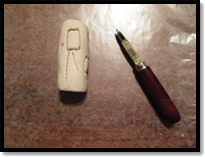
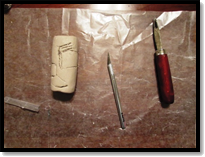
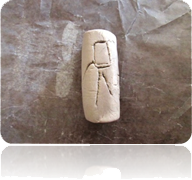
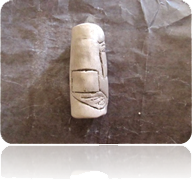
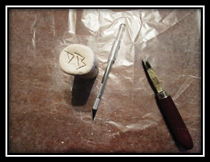
When my seal was dry enough to handle but still soft enough to sculpt, I made initial indentations with a linoleum cutter. My symbols included an easel: to represent fine art; a laptop: to signify technology; and a book: obviously, to indicate my love for literature.

Easel Symbol Laptop Symbol
Book Symbol X-acto Knife & Linoleum Cutter

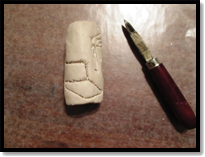
After letting the piece set a little longer, I widened my original grooves with an X-acto knife and added some small details.

Fine Art Technology Literature

The last element I added was an artist’s symbol which simply consisted of my initials on the top and bottom of the seal.

Monogram

View/Download PDF

Chromatic Novel

Assignment

Create a composition for a fictional book cover. In this case, you should be able to “judge a book by its cover”. Utilize your knowledge of color’s emotional symbolism, relativity, psychology and complimentary design.

Blue Grief and SadnessDigital Prototype

I began by visualizing my idea’s digitally. I wanted a simple composition that would use color as the main indication of which the fictional story contained within its pages would be comprised. The images, while important, would play a secondary role and merely support the hue choices of the background and each foreground figure.

Color Symbolism

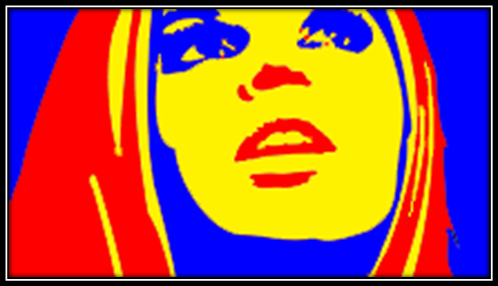
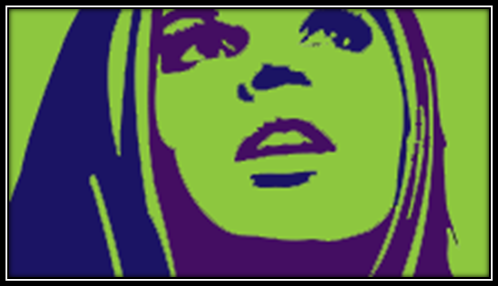
Blue was utilized to represent grief and sadness, red was employed to signify rage and anger and purple was used to indicate arrogance and cruelty and green was exploited to designate jealousy and envy.

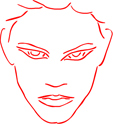
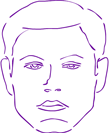
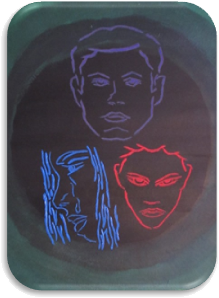
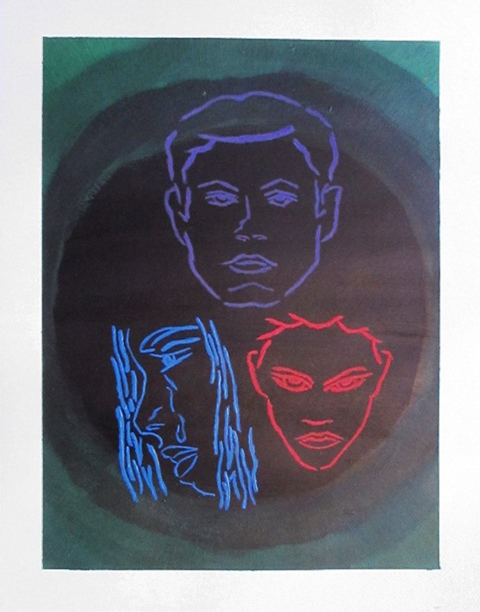
Red Rage and AngerPurple Arrogance and CrueltyBy simply combining three portraits in red, blue and purple on a background of green, I hoped to tell a story of a messy love triangle where bitterness and resentment dominated the tale. One character may be conceited and unkind which hurts another and makes them miserable and angst ridden while a third character could be irritated and seething.


Jacket Creation

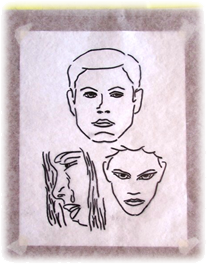
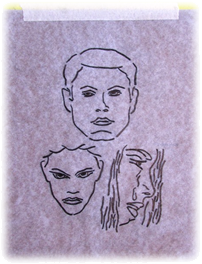
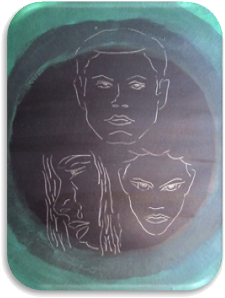
After digitally drawing my portraits, I outlined the positive images on tracing paper and copied the negative forms to prepare for the eventual transfer.

Positive Images Traced                        Negative Forms

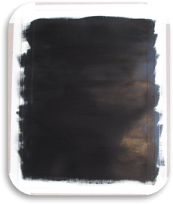
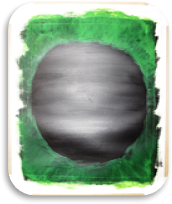
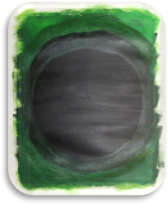
I secured my Bristol board with drafting tape and painted the background with Mars Black acrylic. Once it was dry, I mixed acrylic Green Neon with the same Mars Black to produce a glowing edge radiating from the pitch-black center of the composition. I then transferred the positive image of my three main characters, positioned strategically in their “triangle” and ready to receive their symbolic hues.

Mars Black Acrylic      Acrylic Green Neon      Glowing Radiating Edge

I painted the first character in Deep Violet gouache, the second with an acrylic Cerulean Blue Hue and the third in Carmine Red gouache.

Transferred Image           Deep Violet Gouache, Acrylic Ceruleam Blue Hue and Carmine Red Gouache

JUDGED
Judged

Critique

Since the project called for my peers to “judge a book by its cover” I jotted down some notes while my classmates analyzed my composition.

Some guesses ranged from a murder mystery to the Twilight Zone and even the Wizard of Oz. Eventually, thoughts turned to a love triangle and even got as specific as a childhood connection evolving into jealous relationships.

Once I explained my color symbolism, my peers and professor added some additional insight into my background. They noted that the ever-increasing darkness, finalizing in a pitch-black hue, could indicate an ominous ending to the story. As the overall tale was of a precarious situation, to say the least, the assumption was far from improbable.

View/Download PDF

Color Schemes

Assignment

Document seven color schemes utilizing modern photography. Explain your image selections and describe color balance within each composition as it applies to each color scheme.

Monochromatic

Color Scheme Examples

Monochromatic colors are all the colors, tints, tones, and shades of a single hue. The energy of such a color scheme is more subtle and peaceful due to a lack of contrast of hue.

Analogous

Analogous colors are groups of colors that are adjacent to each other on the color wheel, with one being the dominant color, which tends to be a primary or secondary color, and two on either side complementing, which tend to be tertiary.

Complementary

Complementary colors are pairs of colors which, when combined in the right proportions, produce white or black. When placed next to each other, they create the strongest contrast and reinforce each other. On the color wheel, complementary colors are directly opposite each other.

Split Complementary

The split complementary scheme uses a color and the two colors adjacent to its complementary hue. This provides high contrast without the strong tension of the complementary scheme.

Triadic

A triadic color scheme uses colors that are evenly spaced around the color wheel. Triadic color harmonies tend to be quite vibrant, even if you use pale or unsaturated versions of your hues. To use a triadic harmony successfully, the colors should be carefully balanced – let one color dominate and use the two others for accent.

Double Complementary

This tetradic scheme uses four hues arranged into two complementary color pairs in a square format positioning all four colors evenly spaced around the color wheel.

Tetradic

The rectangle color scheme uses four colors arranged into two complementary pairs. Tetradic color schemes work best when one color is dominant.

Photographic Examples

Monochromatic Color Scheme

Monochromatic Color Scheme

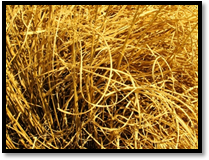
My monochromatic image consists of a yellow-orange hue including shades and tints. Shadows deepen into an almost black hue and highlights brighten to near white levels but the entire composition is merely various levels of yellow-orange.

Analogous Color SchemeAnalogous Color Scheme

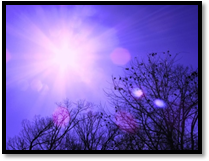
To demonstrate an analogous design, I chose to display four cool hues including blue, blue-violet, violet and red-violet. While blue-violet dominates this image, obvious signs of pure blue and violet abound and most of the accent hues are variations of red-violet.

Complementary Color SchemeComplementary Color Scheme

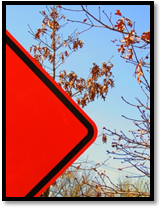
I could have chosen any combination of a primary and secondary color to display complements: red and green, yellow and violet, blue and orange. Tertiary and secondary hue combinations could also have been utilized but I chose to use blue and orange in this study. I wanted to take photographs of naturally occurring hues but in this case I included a common man-made object into my design.

Split Complementary Color SchemeSplit Complementary Color Scheme

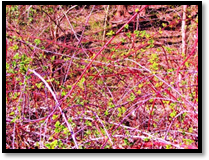
My split complementary composition utilizes green as its primary hue and is complemented by red-orange and red-violet. The overall impression of pink given by using red-orange in darker portions of the image and applying a lighter red-violet hue as highlights enables the various shades and tints of green to stand out in the design.

Triadic Color SchemeTriadic Color Scheme

To exhibit a true triadic scheme, each hue used should be evenly spaced around the color wheel. With this thought in mind, I chose the tree primary colors: red, yellow and blue. Red became my dominate hue while blue and yellow accented the composition.

Double Complementary Color SchemeDouble Complementary Color Scheme

The term double complementary is just a version of the tetradic color scheme in which the hues utilized are laid out in a square pattern around the color wheel. I used red-violet, orange, yellow-green and blue to create my double complementary color scheme. By allowing the orange and blue hues to spread out within the image, the red and green areas sprinkled around the design create movement.

Tetradic Color SchemeTetradic Color Scheme

Another pattern that contains two pair of complementary hues is the rectangular tetradic scheme. In my composition I chose red, orange, green and blue. One hue of each pair acts as a dominate color while separated by their complement which is used in larger amounts but greatly dispersed throughout the image.

View/Download PDF

Saturation

Assignment

Create two compositions: one should be in low saturation and consist of a narrow value range; the other should be in high saturation and consist of a broad value range.

The composition can be any original idea of design, self-portrait, or copy of a photograph. The color medium utilized should be any paint medium or color-aid paper if constructed of solid shapes. Recommended size: no larger than 8”x8”.

Definition

Saturation defines a range from a pure hue (100%) to gray (0%) at a constant lightness level. A pure color is fully saturated.

From a perceptional point of view, saturation influences the grade of purity or vividness of a color or image. An unsaturated image is said to be dull, less colorful or washed out but can also give an impression of being softer or less harsh.

Preparation

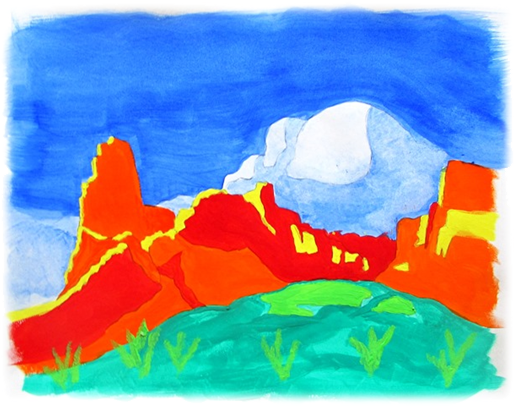
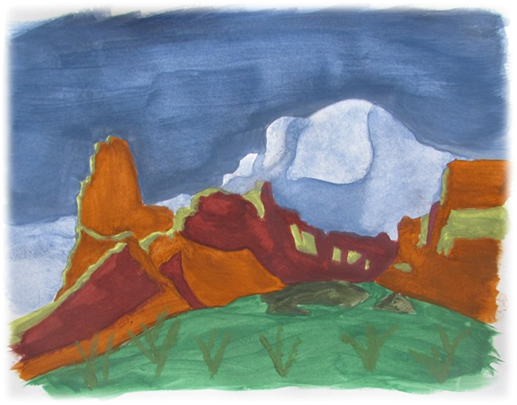
To begin, two copies of an identical landscape were traced and transferred to Bristol board. The identical images were specifically chosen to compare the visual impacts and differences saturation can produce. Both images were painted with gouache.

High Saturation

High Saturation

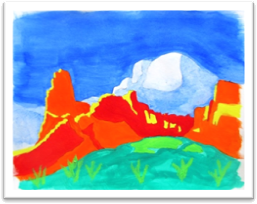
I selected Cobalt for the sky background that occupied the upper portion of the composition. Next I painted the grass-covered hill in Permanent Green with patches of Light Green and brush of the same hue. To complement both the sky and the grass, the mountains were painted in Bright Orange and Carmine Red with Lemon Yellow highlights. To complete the work, the clouds were painted in a washed-out version of the same Cobalt and the tints were produced by utilizing a sponge-like application with the wash.


Low Saturation

Low Saturation

I used all of the same hues in both images and the same brushes for the same colors and the same techniques for every section; however, in my second version I added a gray to each color that was a mixture of Ivory Black and Bright White.

 High Saturation

Low Saturation

View/Download PDF

Color Emotions

Introduction

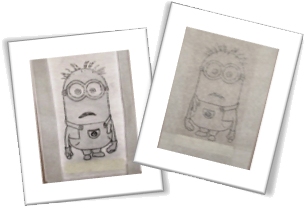
Color alone can affect a viewer’s acceptance of an image and whether they find the image pleasant or distasteful. Take a cute and lovable Minion, for example. With their gentle yellow tint and unassuming whites and tans, they are very nonthreatening and are even considered lovable.

MinionPrototypeCute to Ugly

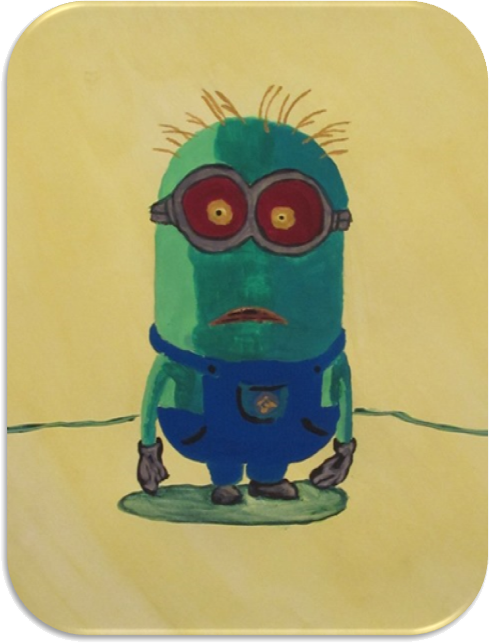
By changing his mild yellow tints and shades to harsh, unpleasant green variations, I made him instantly less friendly. Additionally, I chose to color his iris’ a sickly, pastel yellow and his sclera, or the “whites of his eyes”, a dim red. Lastly, changing his teeth to dark grays and browns and throwing some magenta in his mouth and pupils, the change is complete. We now have a Noinim, or anti-Minion: a horrible, offensive, nasty variation of a once adorable character. Sorry, Illumination Entertainment.

Traced Image

Image Creation

First I traced the Minion, both as a positive image and then the negative image, so it could be transferred to Bristol board. After the transfer, and perhaps one step later than recommended, I painted the background in a light yellow hue. This color choice was based on its clash with the planned greens of my Noinim.

Image Painting

I started by painting the clothing and accessories that wouldn’t change color: namely, the goggles, overalls, gloves and boots. Then I chose several shades of green that would alter a viewer’s perception of the character. By modifying the eyes, hair and mouth of our new underling, we further change the observer’s initial appeal to that of aversion. A few final additions completed the composition: a shadow in a blue-green shade and a horizon line to add some limited depth to the abstract landscape.

Transfer Background Clothing & Accessories

Noinim

Noinim

Chalk Boy

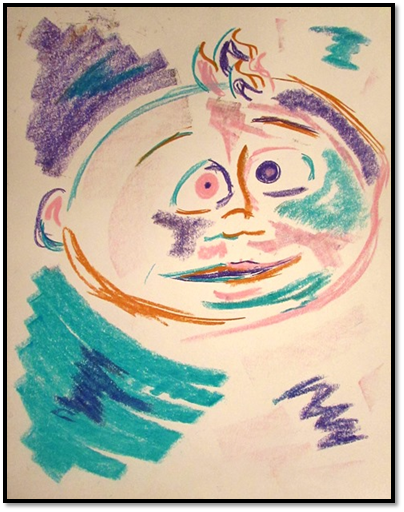
After a class critique, my Minion was deemed a zombie but still considered too cute to meet the requirements of color alone changing the emotion of an image. I disagreed but was willing to try a free-form sketch with chalk of a cute cartoon boy.

Chalk Boy

While this version of color emotion technically meet my professor’s expectations, I had to produce something a little more professional to meet my personal standards.

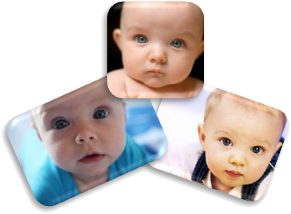
BabiesEvil Baby

I started by searching the internet for some of the cutest baby pictures I could find. Finally, I settled on three possibilities:

Modifications

After experimenting with all three, I picked one and started manipulating the brightness, contrast, mid-tones, hue and saturation.

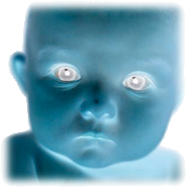
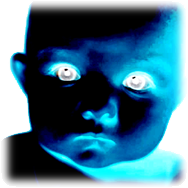
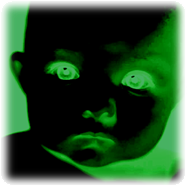
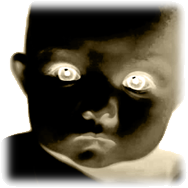
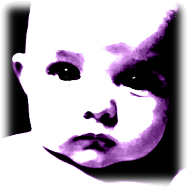
Some of the adjustments I tested included negatives, highly saturated darkened images, green and blue monochromatic forms, sepia exposures and high-contrast violet vector masks.

 Original Baby Negative Baby High Saturation
Monochromatic Green Sepia Exposure Violet Mask

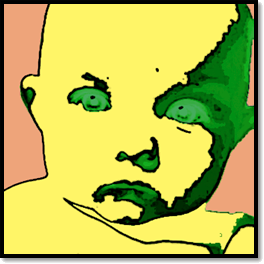
Eventually, I made some specific hue selections, separated the background, highlights and shadows and applied a light, mustard yellow; several shades of dark and light greens; and a peach-orange hue.

Baby Face

Transfer

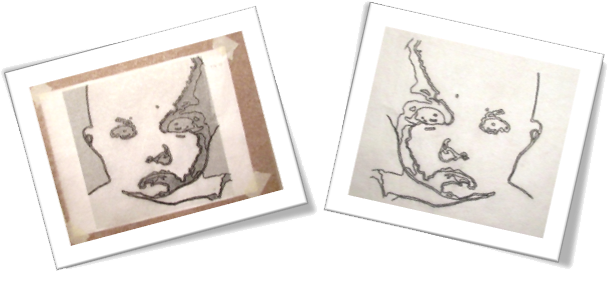
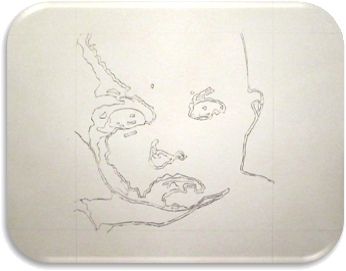
I traced the positive image but instead of tracing the negative and transferring the positive form, I decided to transfer the negative image to Bristol board.

Trace Positive
Negative Transfer

Painting

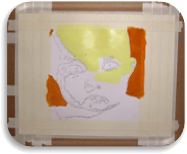
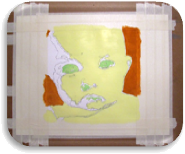
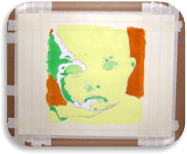
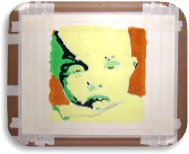
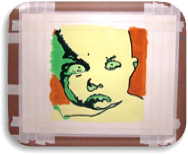
I started by producing the background color which was a mix of Bright Orange and Yellow Ochre gouache. Next, the main bright hue utilized for most of the baby was created by mixing a tint of Cadmium Yellow and Titanium White acrylic. The green hues were applied from lightest to darkest, beginning with a Light Green gouache mixed with Titanium White acrylic followed by a, slightly darker, pure Light Green gouache. The shades and shadows were created by mixing Permanent Green gouache and Mars Black acrylic. Finally, the darkest hue was made with Emerald Green gouache and Mars Black acrylic.

Background & Highlights Adding Light Green Adding Medium Green
Addidng Dark Green Adding Outline

Completion

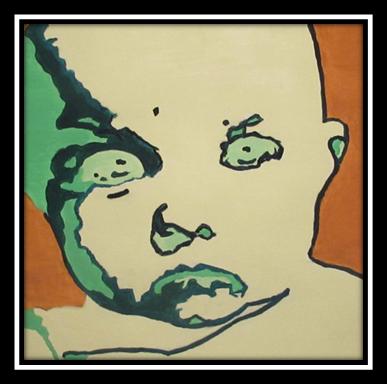
A three-inch border was taped off with masking tape before applying the paint; however, the border was trimmed away from the image after it finished drying.

 Evil Baby

View/Download PDF

Dalíesque

Assignment

Create an original composition while representing and paying tribute to the great master: Salvador Dalí. (This particular artist was my choice. Any artist could have been selected as long as they were well-known for a unique style and significant color choices.)

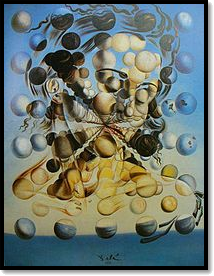
Galatea of the SpheresInspiration

In the early 1950’s, Dalí painted Galatea of the Spheres. He had been greatly interested in nuclear physics since the first atomic bomb explosions of August 1945, and described the atom as his “favorite food for thought”. Recognizing that matter was made up of atoms which did not touch each other, he sought to replicate this in his art at the time, with items suspended and not interacting with each other.

After marrying Gala in 1934, Dalí started to sign his paintings with his and her name and stated, “Tis mostly with your blood, Gala, that I paint my pictures”. Gala acted as his agent and aided in redirecting his focus.

Prototype

I wanted to pay homage to Dalí by mirroring some of his color choices, unique suspension theme and even his inspirational muse. Of course, my muse is my beautiful wife, Jennifer.

I began by selecting a photograph of my muse:

Muse Photograph

Sky, Sun, Clouds
I then selected a background image consisting of a blue sky
and the sun concealed by some white, fluffy clouds.

Experimentation

I converted the original image to a pencil sketch to simplify the design and tested different styles such as a couple colorful cubism motifs, some chalk variations and even a Warhol-like design.

Cubism Motif 1 Pencil Sketch Cubism Motif 2
Chalk Variation 1 Warhol-like Design Chalk Variation 2

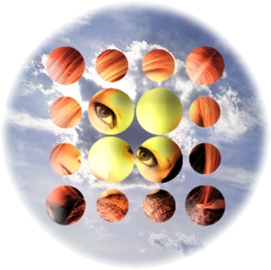
Finally, I settled on a photographic sphere-based theme to more closely resemble Galatea of the Spheres and positioned it on top of my sky background.

Photographic Sphere-based Theme

Bristol BoardCreation

First, I trimmed a piece of Bristol board to 16 ½” square. This size allowed me to leave a 2” border and a 2 ¼” padding. The border was protected with drafting tape.

My first attempt at a free-hand, haphazard background was a disaster. I decided to clean it up by planning a two-tone, abstract landscape; unfortunately, I wasn’t pleased with the result for this design. I settled on a simple, sky-blue wash and was quite happy with the outcome.

Free-hand, Haphazard Disaster Free-hand, Haphazard Disaster Two-tone, Abstract Landsacape Sky Blue Wash

Digital Design Contours
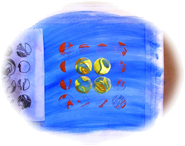
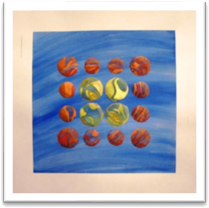
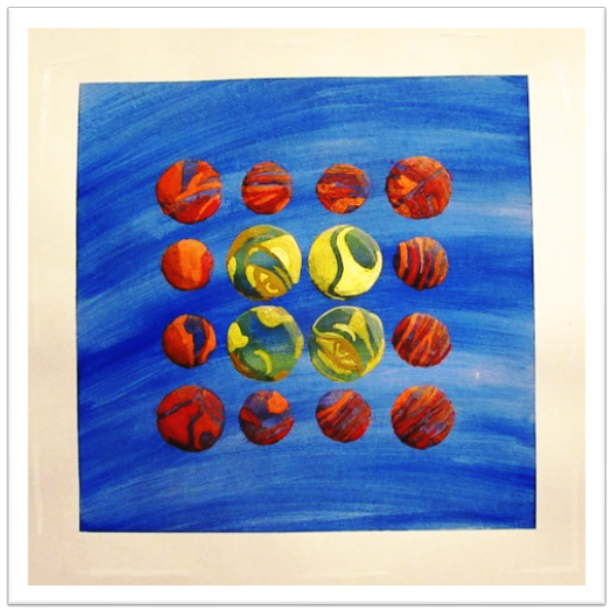
I copied contours of my digital design onto tracing paper and then transferred them to my background, starting with the center four spheres. I chose to radiate my warm colors, golden-yellows and deep oranges, from the center of the design to the edges. By placing these hues on my cool, rich blues, I intended to mimic some of Dalí’s color choices and placements.


Details

I began with the center four sections of the image and utilized Cadmium Yellow Light Hue as my basic yellow hue. I then mixed Primary Yellow with Titanium White to create my highlight tint. Next, I chose to indicate shades with Yellow Oxide and finished by creating a wash from my basic yellow to cover each circle and produce a sphere effect. The last two steps were to produce a reflective light and shadow on each sphere which I did by generating a new shade wash from my basic yellow and adding Mars Black and then making a tint wash from my previous highlight hue.

Cadmium Yellow Light Hue Primary Yellow with Titanium White Yellow Oxide
Basic Yellow Wash Highlights & Shadows

The sections surrounding the center four spheres would eventually fade from the center of the design toward the edges but started with a basic Cadmium Orange Hue. Next, I mixed this basic orange with Titanium White to produce my highlight tint. I utilized Cadmium Red Light Hue to create a dark shade for each circle around the composition. To generate the sphere effect, I created a wash from my basic orange and coated each circle. Again, the last two steps were to make a reflective light wash from my highlight orange and a shadow wash by adding Mars Black to my previous dark shade.

Cadmium Orange Hue Cadmium Orange Hue with Titanium White
Cadmium Red Light Hue Basic Orange Wash

Border Revealed


After the design dried and the drafting tape was removed, some blemishes were reveled within the border; so, I used some pure Titanium White to abstractly add almost invisible lines randomly around the entire border.

Jennifer Dalíesque
Jennifer Dalíesque

View/Download PDF

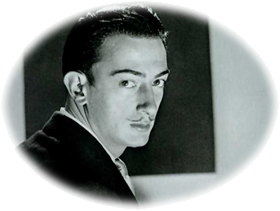
Salvador Dalí

Salvador Dalí

Introduction to Dalí

Salvador Dalí was a Spanish surrealist known for his imaginative and eccentric views and lifestyle. He was born on May 11th, 1904 and died at the age of eighty-four on January 23rd, 1989. Dalí was best known for his painting but was also involved in film and theater, photography and writing, fashion and architecture. He was also a great sculptor and worked extensively in the graphic arts.

Diminutive Biography

When he was five, Dalí was taken to his brother’s grave and was told by his parents that he was his brother’s reincarnation, a concept which he came to believe. Of his brother, whom shared his first name, Dalí said, we “resembled each other like two drops of water, but we had different reflections.” He “was probably a first version of myself but conceived too much in the absolute.”

His mother died of breast cancer when Dalí was 16 years old; he later said his mother’s death “was the greatest blow I had experienced in my life. I worshiped her… I could not resign myself to the loss of a being on whom I counted to make invisible the unavoidable blemishes of my soul.”
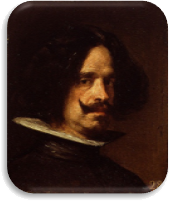
Diego VelázquezIn 1926 he made his first visit to Paris, where he met Pablo Picasso, who the young Dalí revered. Picasso had already heard favorable reports about Dalí from Joan Miró. As he developed his own style over the next few years, Dalí made a number of works heavily influenced by Picasso and Miró.
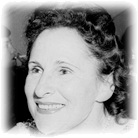
Gala DalíDalí grew a flamboyant mustache, influenced by 17th-century Spanish master painter Diego Velázquez. The mustache became an iconic trademark of his appearance for the rest of his life.

In August 1929, Dalí met his lifelong and primary muse, inspiration, and future wife Gala. In the early 1930s, Dalí started to sign his paintings with his and her name and stated, it “is mostly with your blood, Gala, that I paint my pictures”.

Chronology of Select Works & Contributions

Dalí’s painting was greatly inspired by Renaissance masters such as Leonardo da Vinci, Giulio Clovio and Giovanni Bellini but he was involved in many of the fine arts in addition to graphic art including etchings and lithographs.

Theatre

In 1927, Dalí designed scenery for Federico García Lorca’s romantic play Mariana Pineda; thus contributing to the theatrical arts. Later he would create set designs for Labyrinth in 1941 and The Three-Cornered Hat in 1949.
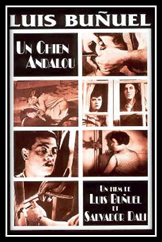
Un Chien Andalou (1929)Film

Dalí and Luis Buñuel produced a short film called Un Chien Andalou in 1929 that consisted of seventeen minutes of bizarre and surreal images that were designed to not mean anything at all. A straight razor is placed by a woman’s eye which is then slit open, a small cloud formation obscures the moon, a woman pokes at a severed hand in the street with a cane, a man drags two grand pianos containing dead and rotting donkeys and live priests and a man’s hand has a hole in the palm from which ants emerge. A shot of differently striped objects is repeatedly used to connect scenes.

Painting

The Persistence of Memory was completed in August of 1931. Dalí indicated that the soft watches were not inspired by the theory of relativity, as many believed, but by the surrealist perception of a Camembert cheese melting in the sun.
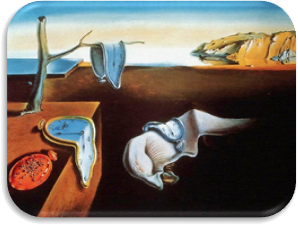
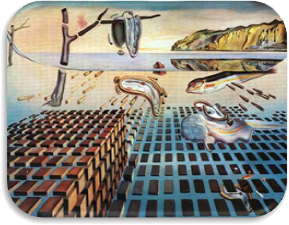
 The Persistence of Memory (1931) The Disintegration of the Persistence of Memory (1954)

He returned to the theme of this painting with the variation The Disintegration of the Persistence of Memory in 1954. Dalí had been greatly interested in nuclear physics since the first atomic bomb explosions of August 1945, and described the atom as his “favorite food for thought”. Recognizing that matter was made up of atoms which did not touch each other, he sought to replicate this in his art at the time, with items suspended and not interacting with each other.
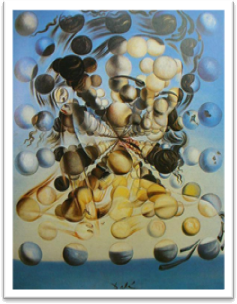
Galatea of the Spheres (1952)A great example of this style was his earlier work in 1952, Galatea of the Spheres. This painting depicts Gala Dalí, Salvador Dalí’s wife and muse, as pieced together through a series of spheres. The name Galatea refers to a sea-nymph of classical mythology renowned for her virtue, and may also refer to the statue beloved by its creator, Pygmalion.

The Sacrament of the Last Supper is another well-known painting by Salvador Dalí. Completed in 1955, this work of art took nine months to finish.

“The first Holy Communion on Earth is conceived as a sacred rite of the greatest happiness for humanity. This rite is expressed with plastic means and not with literary ones. My ambition was to incorporate to Zurbarán’s mystical realism the experimental creativeness of modern painting in my desire to make it classic.”

~Salvador Dalí
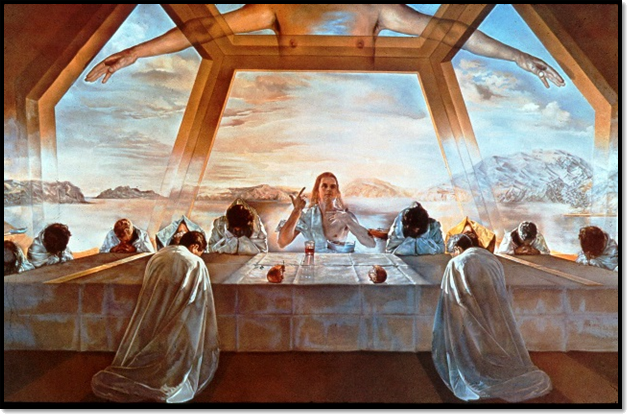
 The Sacrament of the Last Supper (1955)

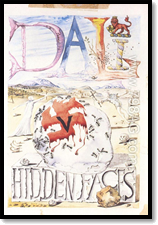
Hidden Faces (1944)Writing

In Hidden Faces (1944), Dalí describes the lives and loves of a group of aristocratic characters who, in their beauty, luxury, and extravagance, symbolize the decadent Europe of the 1930s. The story of the tangled lives of the protagonists, from the February riots of 1934 in Paris to the closing days of the war is Dalí’s only attempt at an approach to a literary career.

Photography

Dalí collaborated with many talented artists such as Man Ray, Brassaï, Cecil Beaton, and Philippe Halsman. While working with the later, the famous Dali Atomicus was taken in 1948. It took 28 takes to get the desired effect and the steps taken have been described as follows:

  • The photographer counts:
    • 1: His wife, Yvonne, holds the chair up
    • 2: The assistants get ready with the water and the cats
    • 3: The assistants throw the cats from the right and the bucket of water from the left
    • 4: Salvador Dalí jumps
  • …and milliseconds later, Philippe Halsman takes the photo. Click!
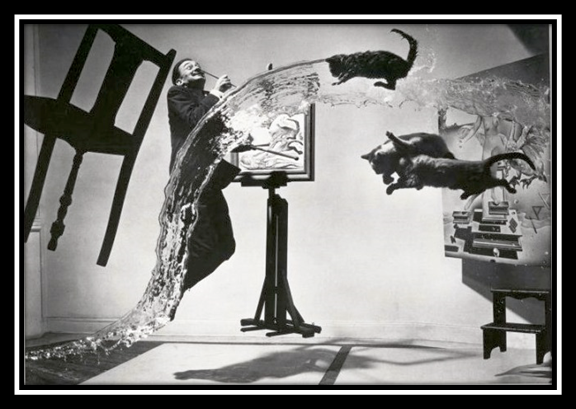
Dali Atomicus (1948)

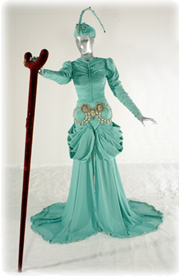
Costume for the Year 2045 (1950)Fashion

Elsa Schiaparelli commissioned Dalí for various designs including a white dress with a lobster print, a shoe-shaped hat and a pink belt with lips for a buckle; additionally, Christian Dior asked him to create the “costume for the year 2045”, in 1950.
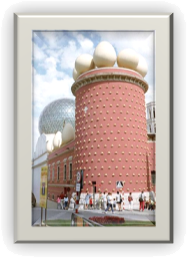
Teatro MuseoArchitecture

In 1960, Dalí and the mayor of Figueres decided to rebuild the town’s old theater which had been bombed during the Spanish Civil War. Teatro Museo is now a museum which opened on September 28th, 1974 and houses the single largest and most diverse collection of works by Salvador Dalí.

Sculpture
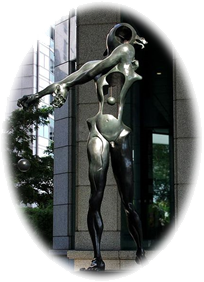
Homage to Newton (1985)

Homage to Newton (1985) is Dalí’s tribute to Isaac Newton. With an open torso and suspended heart, this sculpture indicates “open-heartedness” and its open head designates “open-mindedness”—the two qualities important for scientific discovery and successful human endeavors.

Symbolism

“I am painting pictures which make me die for joy, I am creating with an absolute naturalness, without the slightest aesthetic concern, I am making things that inspire me with a profound emotion and I am trying to paint them honestly.” ~ Salvador Dalí

Dalí employed extensive symbolism in his work. For instance, the hallmark “melting watches” that first appear in The Persistence of Memory suggest Einstein’s theory that time is relative and not fixed.

The elephant is also a recurring image in Dalí’s works and is portrayed “with long, multi-jointed, almost invisible legs of desire”.

The egg is another common Dalíesque image and Dalí connects it to the prenatal and intrauterine, thus using it to symbolize hope and love.

Use of Color

It could be considered obvious even after a cursory review of Dalí’s works, but gold and blue were prevalent in his palette and utilized frequently. He used the cool blues in many paintings to dominate the background and yellows, oranges and gold’s were often used for figures and foreground items. The colors he chose to use most reflected the distinct gold light and vivid blue skies of the Mediterranean which Dali insisted was “the most beautiful place on earth”.

Dali often produced a dark foreground to contrast with lighter objects he’d place in these areas and, conversely, he would utilize a light background to display a darker figure. While this practice is slightly unorthodox, he followed normal protocol most of the time regarding warm colors in the foreground and cool colors in the background.
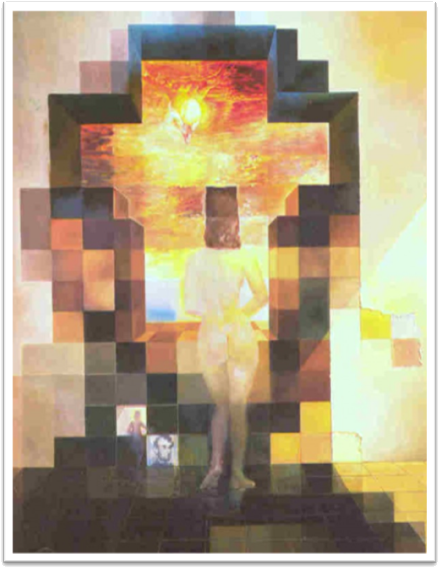
 Gala Contemplating the Mediterranean Sea Which at Twenty Meters Becomes the Portrait of Abraham Licoln (1974-76)

View/Download PDF

Contrast

Introduction

The seven color contrasts described by Johannes Itten are:

7 Contrasts of Johannes Itten

Contrast of HueContrast of Hue

Contrast of hue is illustrated by undiluted colors in their most intense luminosity and is formed by the juxtaposition of these hues. The greater the distance between hues on a color wheel, the greater the contrast. Orange, green and violet are weaker in character than yellow, red and blue, and the effect of tertiary colors is even less distinct.

Light and Dark ContrastLight and Dark Contrast

The contrast of light and dark is formed by the association of light and dark values. Darkened colors are considered shades and shadows while lightened colors are described as tints and highlights.
Cool and Warm ContrastCool and Warm Contrast

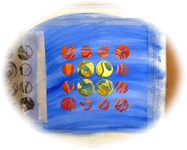
The contrast of cool and warm is formed by the apposition of warm and cool hues. Warm colors are often said to be hues from red through yellow, browns and tans included. Cool colors are often said to be the hues from blue-green through blue-violet, most grays included.
Complementary ContrastComplementary Contrast

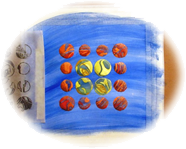
When placed next to each other, complementary colors create the strongest contrast and reinforce each other. The contrast of complements is formed by the juxtaposition of opposites on the color wheel.

Simultaneous ContrastSimultaneous Contrast

Simultaneous contrast is the predisposition of a color to induce its opposite in hue, value and intensity upon an adjacent color and be mutually affected in return.

Contrast of SaturationContrast of Saturation

Contrast of saturation is formed by the collocation of light and dark values and their relative saturation. Saturation is controlled by adjusting tints, shades and tones or by mixing a color with its direct compliment.

Contrast of ExtensionContrast of Extension

The contrast of extension, or proportion, is created by controlling the percentage of one color relative to another. It is used to balance, or counter the balance, of an image that is heavily weighted with a single hue.

Explanations of Photographic Examples

  1. My Contrast of Hue example displays reds, yellows and blues because, by definition, primary colors exhibit stronger contrast then secondary or tertiary hues. The result is an intriguing image of constant movement and perpetual divergence.
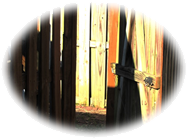
  2. Light and Dark Contrast balances shades and tints, shadows and highlights, to produce variety, movement and harmony. In my example, the eye flows naturally from left to right while it follows the fence line; however, with the bright background and the dual-tone gate, the eye is drawn into the image and back to the left.
  3. By emphasizing the warm reds, yellows and oranges in the foreground of my next example and allowing the cooler greens and blues to dominate the background, I successfully demonstrated Cool and Warm Contrast in a compelling image rich with interpenetration and repetition. The elaboration of the foreground in contrast with the background creates additional variety.
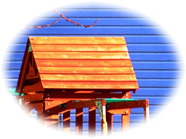
  4. My Complementary Contrast image is dominated by a blue ground with a bright orange figure. As compliments and secondary hues they are strong enough to create an interesting visual impact but not so overwhelming as to generate an objectionable appearance.
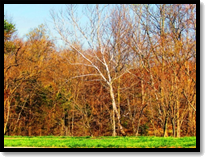
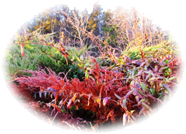
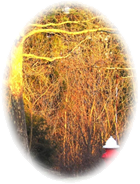
  5. Simultaneous Contrast allows complementary colors to enhance each other based on their positions within an image and their alliance with each other. In my example, the rich greens and reds within my forest scene intensify each other and even combine with the yellows that are naturally present. Many of the primarily green areas of the foliage mix with yellow tints as do the reds and browns of the branches and undergrowth.
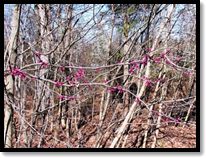
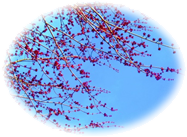
  6. By utilizing an unsaturated, plain blue background and highly saturated flower buds on sharply defined branches, a Contrast of Saturation is achieved. The buds are much more intense on such a flat, plain sky blue then they would appear had they been displayed against a bright yellow, red or orange or even a rich, dark royal blue, purple or green.
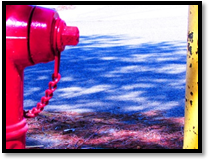
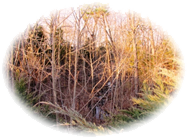
  7. Finally, I displayed my example of Contrast of Extension by exhibiting a common fire hydrant figure against a natural ground of browns, yellows and greens. While much of the image is dominated by warm hues, the red in the primary figure stands out, not because it’s a cool color or a larger shape but because it is a bold, concentrated hue surrounded by larger regions of distributed colors.

Simple Contrast Examples

Hue Example
Contrast of Hue


Light Dark Example

Light and Dark Contrast


Cool Warm Example
Cool and Warm Contrast

Complementary Example
Complementary Contrast

Simultaneous Example
Simultaneous Contrast

Saturation Example
Contrast of Saturation

Extension Example
Contrast of Extension

Composition Variations

Contrast of Hue Image
Contrast of Hue

Light and Dark Contrast Image
Light and Dark Contrast

Cool and Warm Contrast Image
Cool and Warm Contrast

Complementary Contrast Image
Complementary Contrast

Simultaneous Contrast Image
Simultaneous Contrast

Contrast of Saturation Image
Contrast of Saturation

Contrast of Extension Image
Contrast of Extension

View/Download PDF

Monochromatic Pattern

Assignment

Create an interesting original design composition using one motif, object or image in a monochromatic color scheme on any medium and of any size.

Skull Motif

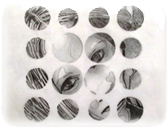
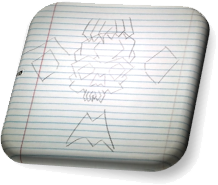
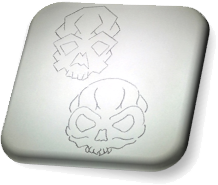
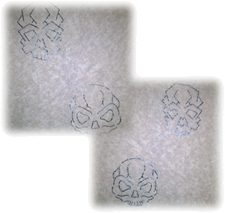
My first design began by sketching some skull concepts on notebook paper. After deciding against my initial notions of having skulls within other skulls, I settled on two abstract models: one angular and the other curvaceous; both of which I drafted on sketch paper.

Notebook SketchSketchbook Skulls

Negative TracesComposition

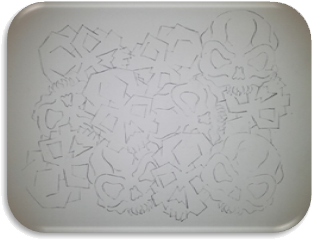
Once I decided on my two versions of skulls I used tracing paper to create a positive image which I transferred to Bristol board. Simultaneously, I utilized the negative image to transfer alternative designs into my pattern; thus, I truly had four different variations of my skulls to incorporate into the overall composition. I also rotated each transfer to add movement and variety into my design.

Skull Patterns

Painting

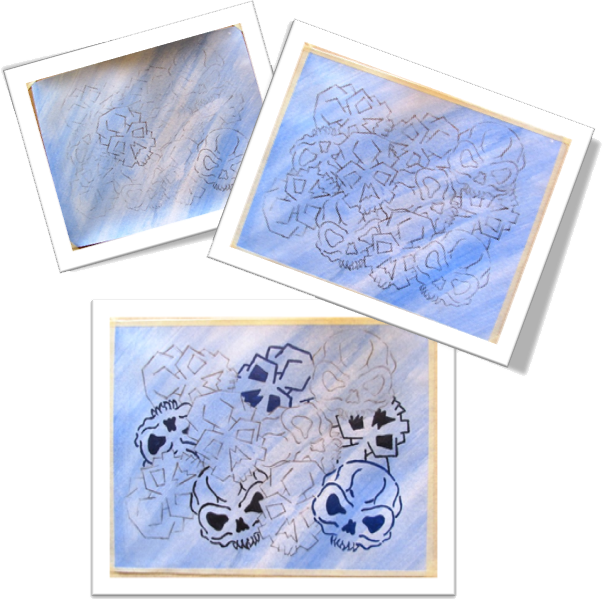
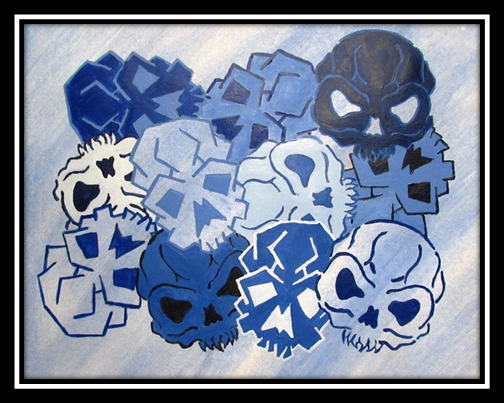
I started the colorization of my skulls by coating the background in a light blue acrylic wash. Of course, by transferring the design before painting the background meant that I needed to transfer my skulls again to ensure I could see where each was placed. I began painting with a pure blue and darkened several shades to vary the initial outlines. For some shades I mixed black into blue and for others I mixed blue and its compliment, orange.

 Skulls, Skulls, Skulls

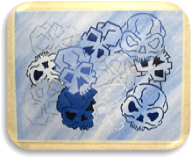
The next step was to outline some alternate skulls with several tints of blue. In addition, I filled a couple of the previously outlined skulls with these newly mixed tints. For each skull I outlined, I filled that skull’s eye sockets and nasal aperture with the same color, except in a couple specific instances: three skulls retained the backgrounds light blue wash – the central, top-most angular skull and the bottom-right and bottom-left skulls. The top-right dark skull was the only skull in the composition with the background wash left in the eye sockets and nasal aperture.

Tints & ShadesEye Sockets & Nasal Apertures

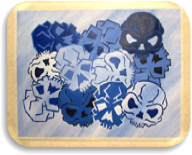
Blue Brain Buckets
Blue Brain Buckets

Book Motif

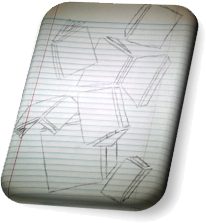
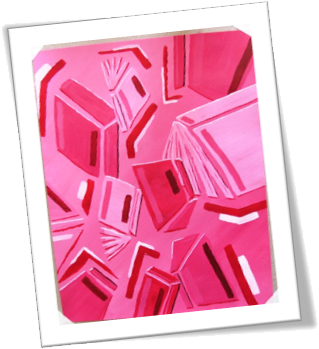
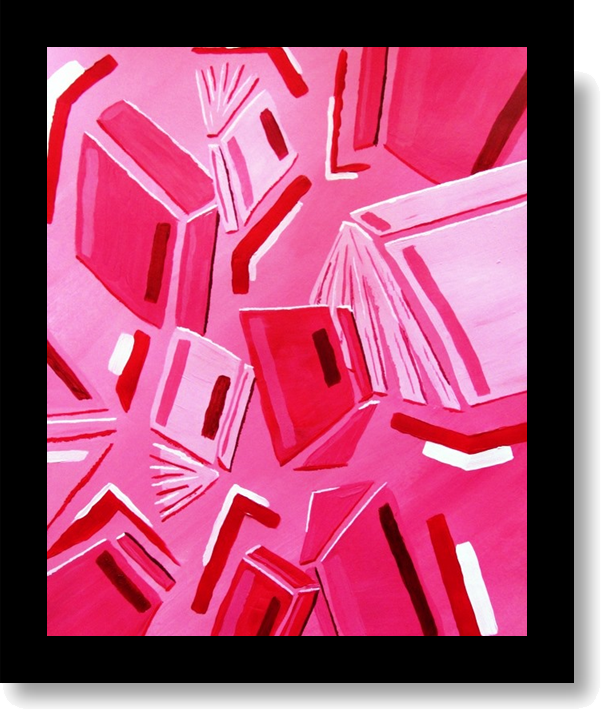
My second design was based on a simple pattern based on books scattered across a page of notebook paper. After adding a light pink background to my Bristol board, I began adding the base shapes that would represent each book.

Notebook Paper Books Flat Shapes

Abstract DetailsDetails

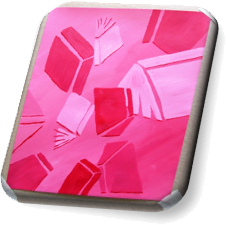
Adding a dark red edge to many of the shapes created definition and contrast to the pattern. Next, I complimented the opposite side of many of the forms with a very light, almost white, pink that simulated an abstract light source. Several additional shades and tints were added in various placements within the composition, mostly within the larger book covers but also on the bindings and spines scattered around the image. To complete the design, horizontal and vertical, seemingly random, shapes were positioned in strategic areas within the composition.

Passion of Literature

View/Download PDF

The Bezold Effect

Introduction

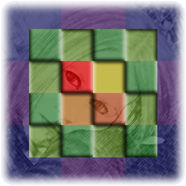
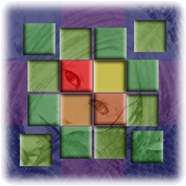
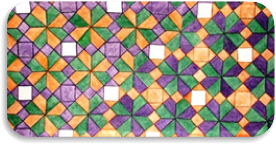
The Bezold effect is an optical illusion, named after a German professor of meteorology, Wilhelm von Bezold (1837–1907), who discovered that a color may appear different depending on its relation to adjacent colors.

It happens when small areas of color are interspersed. An assimilation effect called the von Bezold spreading effect, similar to spatial color mixing, is achieved.Transparent Cubes

Assignment

Create your own pattern displaying the Bezold effect.

Pattern

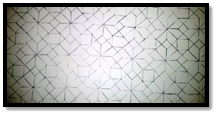
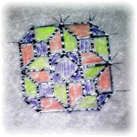
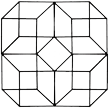
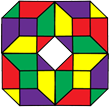
Four Cube PatternI began this project by producing a personal pattern based on my transparent cube design. First, I traced my cube four times, back to back, to connect each cube into a single repeatable form. I then copied the pattern across a piece of Bristol board until the design covered the entire background.

Sample HuesColorization

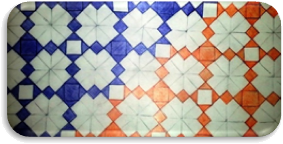
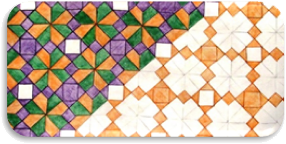
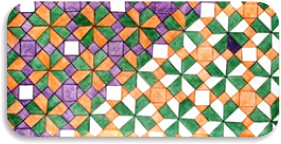
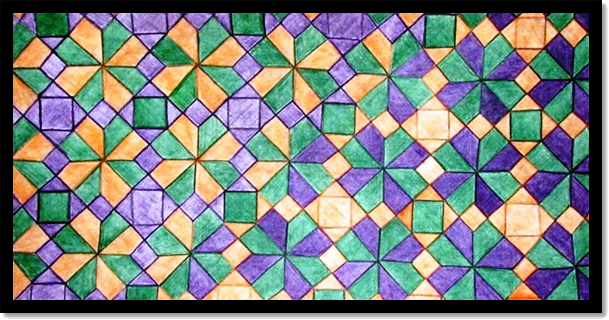
I chose to use a shade of violet and green along with a tint of orange. To visualize these colors as I intended to include them in my pattern, I filled in the template with the sample hues. I planned on utilizing green as my consistent figure, while the purple and orange shapes would exchange placement halfway across the composition.

I started coloring the exchanged shapes, first with purple and second with orange. I then filled in the left half of the composition with the alternated orange and the consistent green. Next, I completed the consistent green forms and finished the right side of the composition by coloring the alternated purple shapes.

Exchange of ColorLeft Half
Consistent GreenRight Half

The last modification I made was to fill in the white square negative spaces with the “background green” to ensure the design was composed of only three colors.

4 Cubes
4
Cubes

Critique

I wasn’t entirely happy with the final result of this experiment; so, I wanted to explore some other possibilities for displaying the Bezold Effect.

Alternatives

My first alternative design was based on a bicycle composition I had created in 1989. This time I altered the design by simplifying the multi-toned gray-scale hatching into two new compositions: one dominated by a light yellow tint and the other by a darker violet hue.

Yellow Bike Bicycle Purple Bike

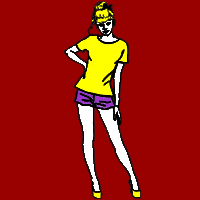
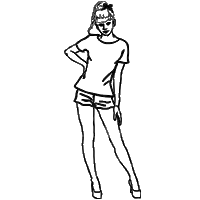
My second experiment started from a graphic sketch I utilized as an icon for tee-shirt designs on a popular website. The sketch was a simple, black and white outline of a woman with her hand on her hip. This time I only changed the background color and left the image hues identical in both graphics.

Red Woman Woman Green Woman

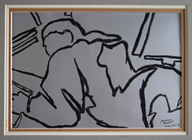
I wanted to experiment with another old design, circa 1989 – 1990, to demonstrate how differing adjacent colors can affect a pattern’s visual impact. Instead of altering the background, I only changed the frame of this image.

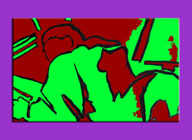
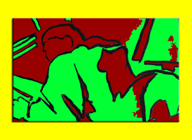
Purple FridayFriday  Yellow Friday

Bezold Cubes

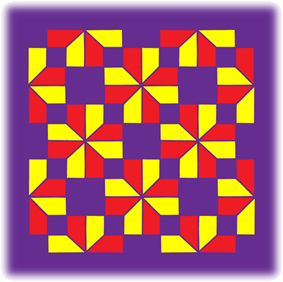
Quad-cubeOne last experiment was needed to complete my vision of the Bezold Effect. Returning to my quad-cube, I digitized my previous sketch of a transparent block, duplicated it and adjusted the pieces into position to complete the four-cube pattern.

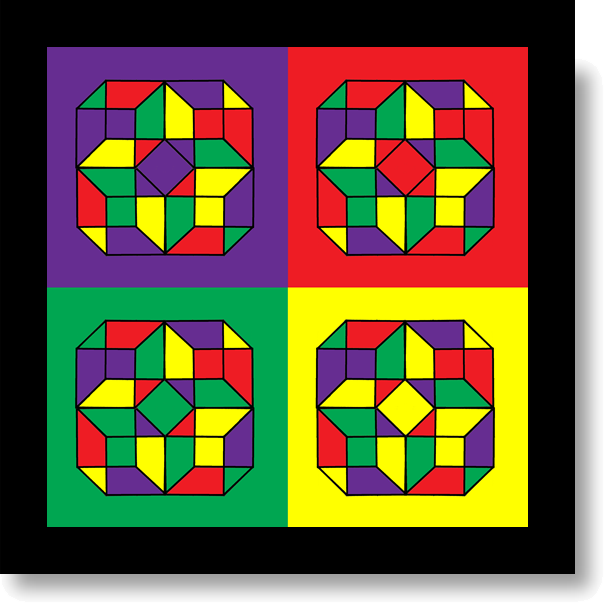
Utilizing this basic design, I carefully chose a tetrad color scheme that would accurately display the visual Colored Patternresults I intended. I began with Violet and added its compliment of yellow along with red and its compliment of green.

The last step was to add four different backgrounds, one of each complimentary color used in the duplicated design; thus, a different effect was produced from each of the four individual images and to the overall composition as a whole.

Bezold Cubes

New Pattern

Revamp

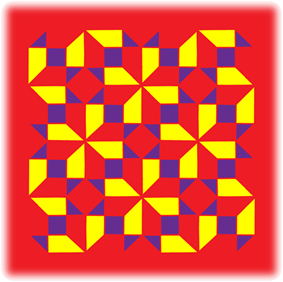
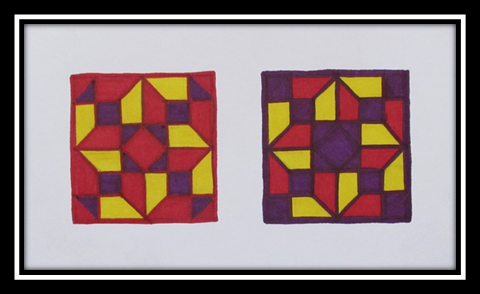
Since none of my previous experiments created the correct result the Bezold Effect describes, I chose to utilize only three colors and change the backgrounds of two images. I decided on removing green from my previous palate and kept red and purple as my primary (and background) hues with yellow as my third color.

Red CubesPurple Cubes

Construction

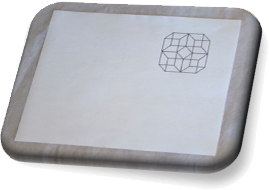
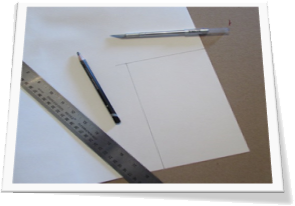
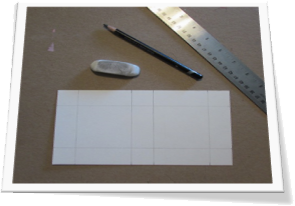
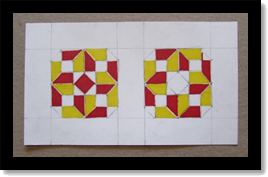
For this project I used Bristol board and permanent markers. I tested some shades and tints of the specific hues chosen. Next, I traced a small sample of my cube pattern to reproduce the effect desired. I also had to calculate the dimensions of my background media to include both images and a one inch border. Then I trimmed a piece of Bristol board to 4 ½”x9”, allowing for two 2” patterns, separated by an inch partition of white space.

Testing MarkersCube Pattern
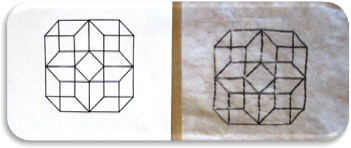
Traced Cubes
Measurments
Guidelines

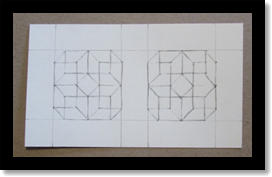
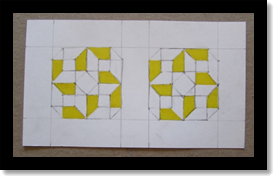
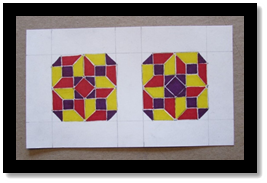
After transferring my cube design to both halves of the Bristol board, I began coloring in the parts of the images that would contain the yellow hue. I the proceeded to fill each designated red portion and eventually completed the pattern with the dark purple. By starting from light to dark, I was able to correct a small mistake while working on the red hue, where I lengthened a line beyond its shape due to a guideline that transferred too lightly.

Transfered CubesYellow Shapes
Red Shapes
  Purple Shapes

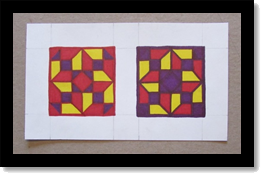
BackgroundsThe last step was to add the actual background colors. I started by outlining each image in its respective hue and then adding an extra layer of thickness to the outside border. Then I simply outlined each individual shape and filled in the corners to complete the effect. Finally, I erased the outside guidelines and cleaned the image for presentation.

Bezold Sample
Bezold Sample

View/Download PDF