Assignment
The Color Relativity projects are based on Josef Albers’ color theory exercises and are designed to demonstrate the phenomenology of color and investigate the interaction of color.
Using the color theories of value, subtraction and complementary (simultaneous) contrast, resolve the following problems with Color-Aid paper mounted on Bristol board.
- Make one color appear as two.
- Make one color appear as the opposite ground.
- Make two colors appear as one.
Terminology
Value is the lightness or darkness of a color. The more white you add to a color or hue, the lighter the value. When you add white to lighten a color, it is called a tint. The more black you add to a color, the darker the value. When you add black to a color to darken it, the resultant color is then called a shade. If you add gray to a color, it results in a tone.
A subtractive color model explains the mixing of a limited set of colorants to create a wider range of colors, each the result of partially or completely subtracting (absorbing) some wavelengths of light and not others. The color that a surface displays depends on which parts of the visible spectrum are not absorbed and therefore remain visible.
Simultaneous contrast is the tendency of a color to induce its opposite in hue, value and intensity upon an adjacent color and be mutually affected in return.
 Exercise One
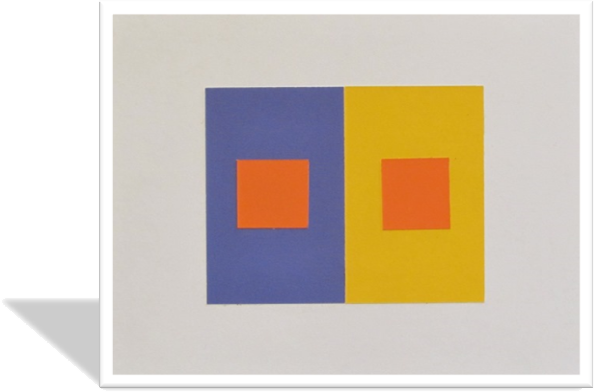
The objective of this experiment is to have one foreground color look like two different colors by placing it on two different backgrounds.
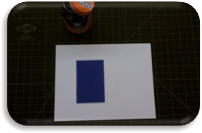
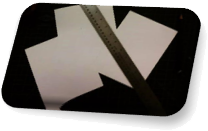
I began this project by cutting Bristol board to size, specifically 5 ½”x7”, with an X-acto knife and a ruler on a self-healing mat.
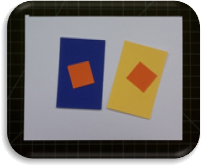
After testing several color combinations, I settled on a dark blue background and a light yellow background with an orange foreground. The Color-Aid paper I utilized was 2”x3” and I extracted two 1” squares for the foreground. The next step was to simply attach each background to its Bristol board counterpart and, in turn, fasten each foreground color to the appropriate background. To ensure I centered each piece correctly, I measured and marked every component, either by cross-hairs or guideline marks.
The final result creates the illusion of the square on top of the yellow background being slightly darker than its natural hue and the square on top of the blue background seems slightly lighter than its natural hue.
Duplicity
Exercise Two
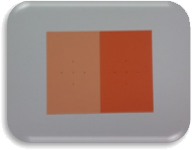
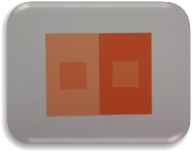
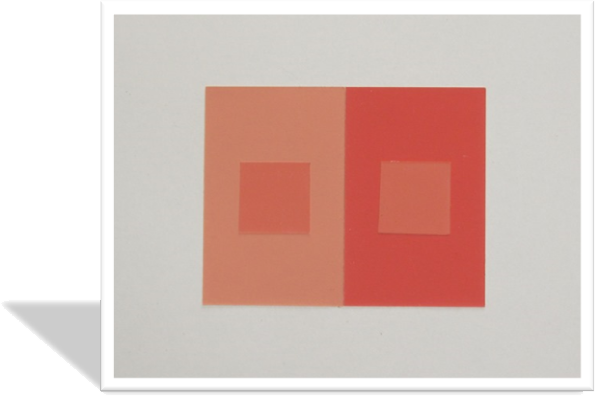
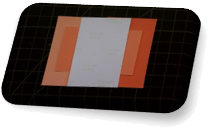 The objective of this experiment is to have one foreground color look like its opposite background color of two different backgrounds.
This project was actually the most challenging and I skipped to exercise three and came back to this one after giving my eyes a chance to recuperate. The difficult part of this task was solving the problem of making three colors seem as only two, with the foreground of study one mimicking the background of study two and vice versa. While the backgrounds are different, the foreground of each is the same hue.
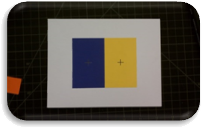
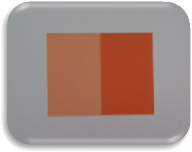
 It took quite a while to experiment with many colors, shades and tints before I found an acceptable series of peach swatches that accomplished my desired effect. By placing the two background hues beside each other with the third color crossing both and then breaking the connection with a piece of white paper, I could visualize the result: the figure in study one mimicked the ground in study two and the figure in study two mimicked the ground in study one. Happy with my choice, I measured and marked my Bristol board to apply the background pieces and then marked the dimensions of the foreground squares.
While similar to exercise one, where one color darkened on a light background and lightened on a dark background, exercise two also added the transformation influence to complicate the illusion.
Masquerade
Exercise Three
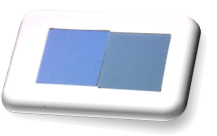
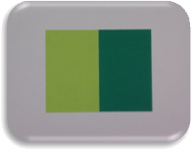
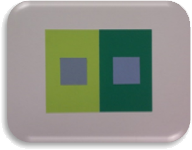
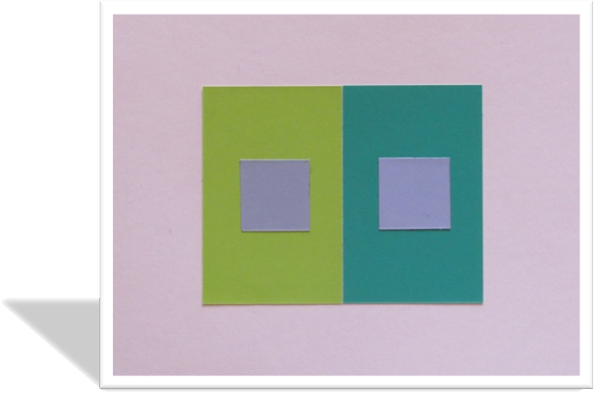
The objective of this experiment is to have two different foreground colors on two different backgrounds appear as the same color.
I began this project by selecting two different blue swatches that I wanted to appear as the same color. To accomplish this task, I experimented with several different backgrounds and settled on two different shades of green: one a light, yellow-green to offset the darker blue and the other a darker moss-green to enhance the light blue. Again, I affixed the background pieces first, painstakingly measuring and gluing with rubber cement. After each piece dried, I cleaned the edges with a rubber cement eraser to ensure a clean presentation.
The final result creates the illusion of both squares being the same hue while, in reality, they are actually different colors displayed on different backgrounds and simply appear to be the same.
Impersonation
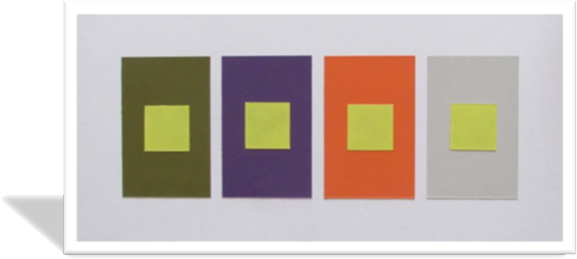
One additional project was added to Albers’ three original exercises: a value demonstration in a series of four ground hues with one identical figure color on each.
Exercise Four
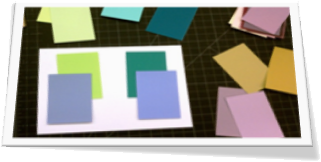
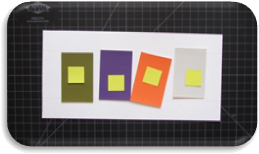
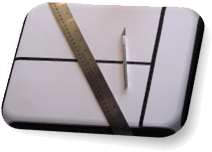 This experiment demonstrates the value change a single color displays while being placed upon different backgrounds of varying hues, shades and tints.
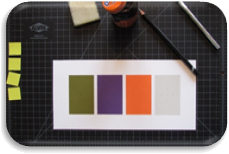
To begin, I needed to cut a custom piece of Bristol board to encompass four ground samples but this time they would be separated by some white space. To ensure my piece was consistent and professionally displayed, I planned the placement of each 2”x3” swatch ¼” apart with a 1 ¼” boarder. With these internal dimensions decided, the Bristol board itself would measure 5 ½”x11 ¼”.
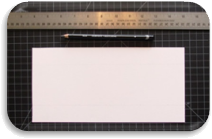 Small tick-marks and light guidelines were added to the prepared Bristol board to ensure proper placement of each value display. Before permanently affixing each ground and figure, I visualized the order of hues by placing each on the Bristol board: starting with the darkest hue and shade and moving left to right until reaching the lightest hue and tint. I choose a dark green, royal purple, primary orange and a light gray as my backgrounds and a light yellow as the foreground color that would be displayed as each figure.
Next, each ground was attached to the Bristol board with rubber cement and the center of each was measured and marked to prepare for the figures. A rubber cement eraser was utilized to clean up any extra glue and the four figure squares were measured and cut for placement.
The final result creates the illusion of each square changing in value as it is viewed on different backgrounds thus demonstrating the relationship between figure and ground from a color theory perspective.


